Looking for the best nordic patterns for your next apparel design projects? These nordic patterns are inspired from the culture of the Nordic people. These pattern elements are designs are designed by using the nordic illustrations like houses, arrows, raindeers and many more. Using these files you can design unique apparel designs, clothing designs, wallpaper designs, invitation cards and website backgrounds. Use Scandinavian Fonts and knitted fonts with these patterns for best results.
In this article we have collected some of the best pattern designs that you can download for free and premium. Some of the best pattern designs that are included in the article are baby clothing patterns, nordic vector houses set, scandanavian pattern designs and norwegian winter pattern designs. You can repeat these patterns on the project multiple times seamlessly without loosing quality. Select the best pattern from the below collection and design unique design projects.
You may also like:
Nordic Art Design Bundle
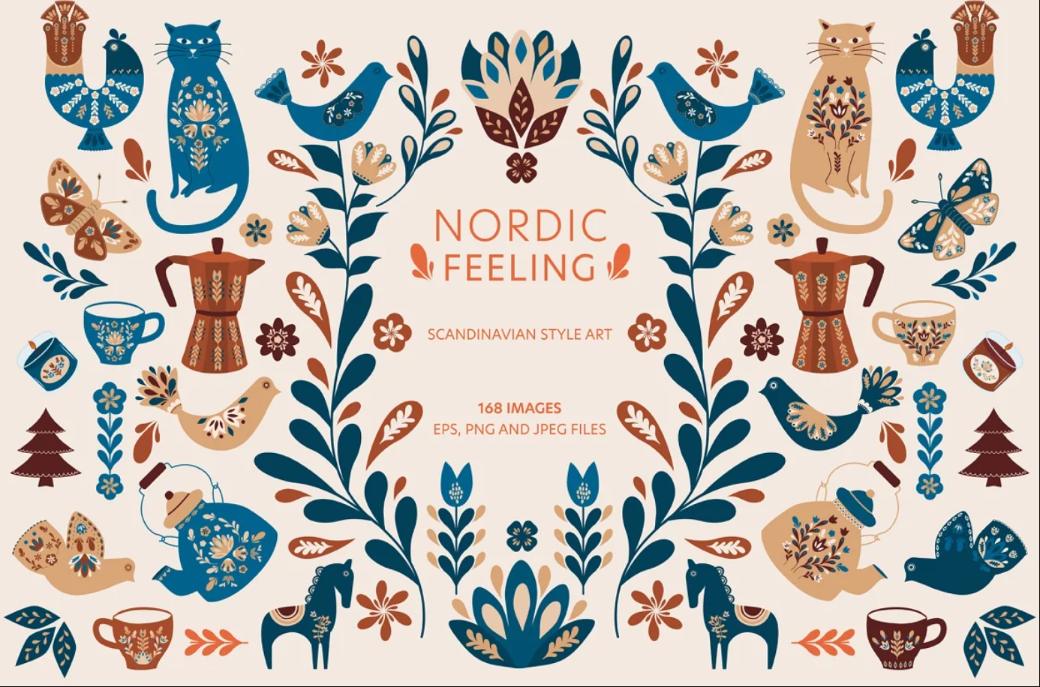
This is a huge collection of scandanevian vector arts that will give a unique artistic look to your print and web design projects. In this download you get a total of 168 different high quality vector images that will give unique look to your posters, greeting cards, invitations and wedding card designs. You also get different sets of frames that you can use to design Christmas and wedding design projects. A total of 12 different sea seamless patterns that you can use with the projects.
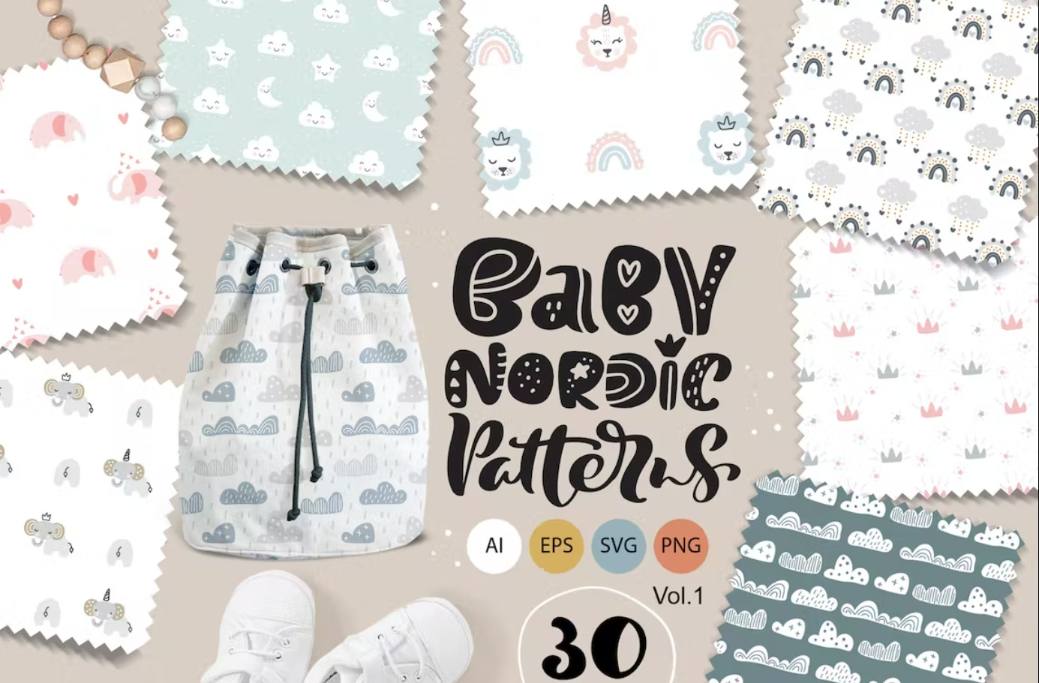
DownloadBaby Nordic Pattern Designs
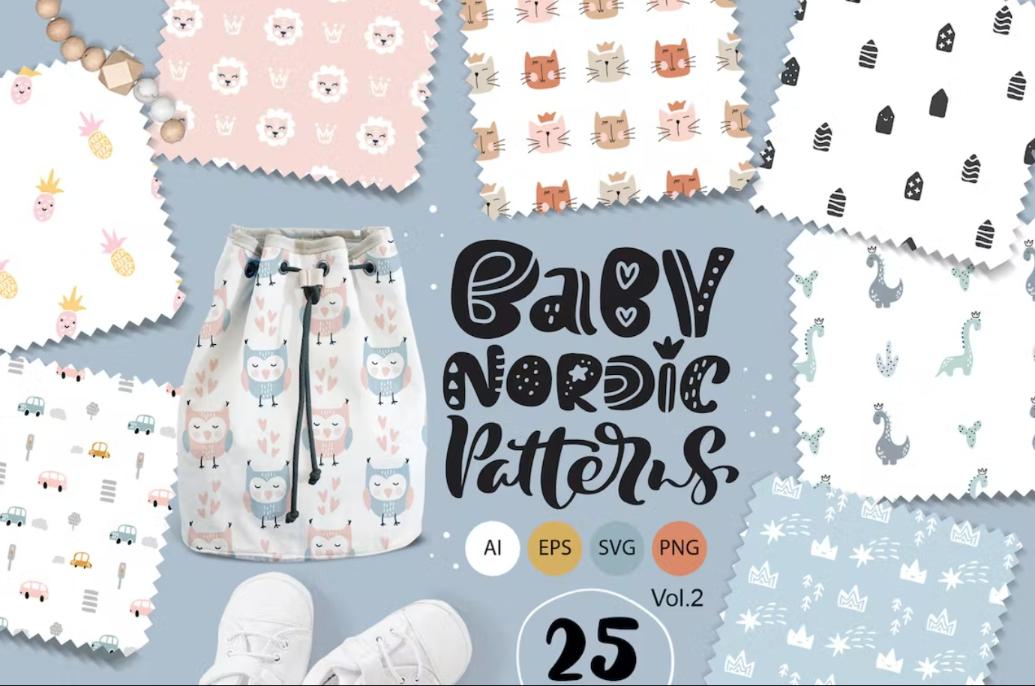
This is a collection of simple style vector patterns that will allow you to design apparel designs for kids. These vectors and patterns will give a cute and beautiful look to your design projects. You can use these patterns for designing nursery products, invitation cards, greeting cards and apparel designs for the baby boys. These patterns are designed by using illustrations of stars, cute dinos, cats and fruits to give a unique look to projects.
DownloadNordic Houses Pattern Designs
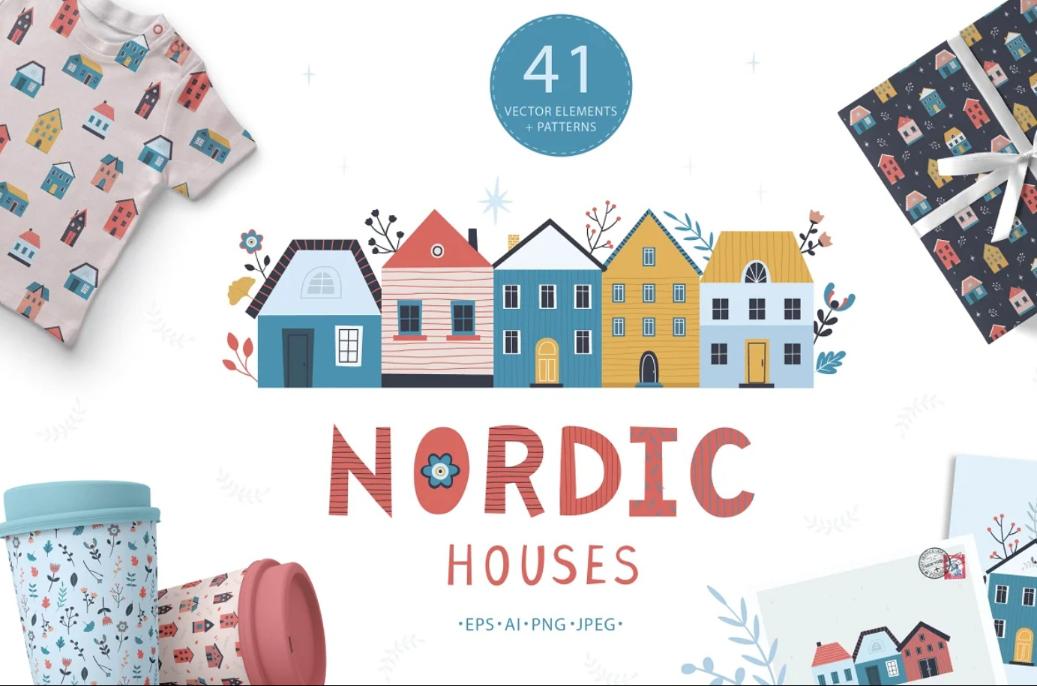
This is a xollection of nardic houses patterns that will give an artistic and unique look to the apparel designs. These pattern elements are designed by using the illustrations of nordic houses and floral elements that will give a unique look to greeting cards, posters and invitations. In this pack you get 15 different vector houses and 26 different graphic elements that you can combine to design unique projects. You also get 5 different postcards that will design unique greeting cards.
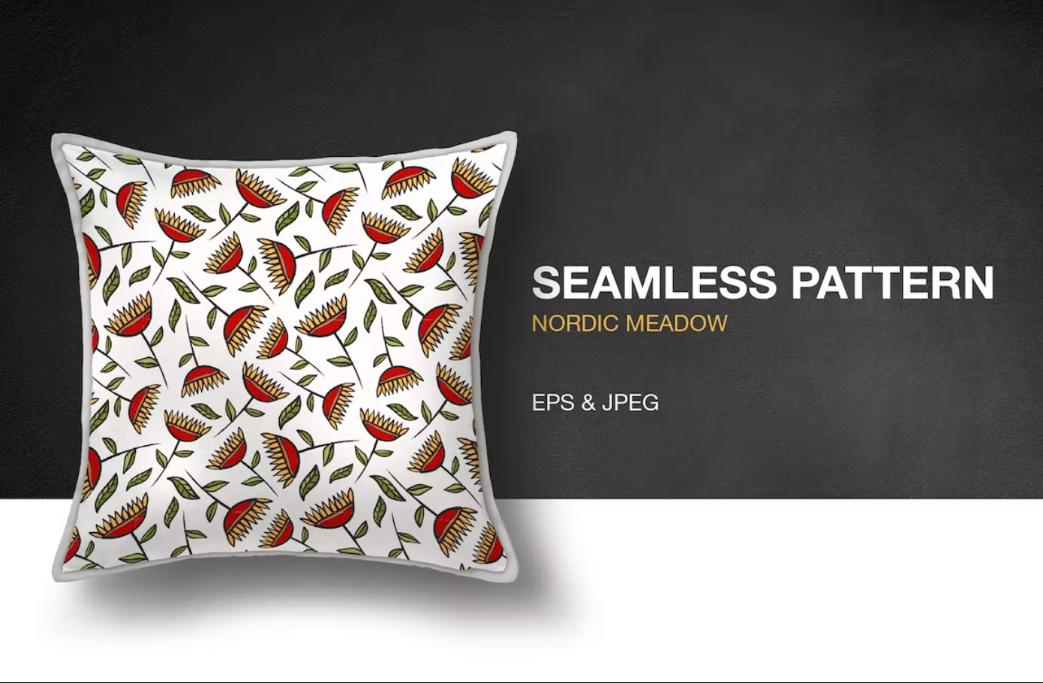
DownloadSeamless Meadow Pattern Designs
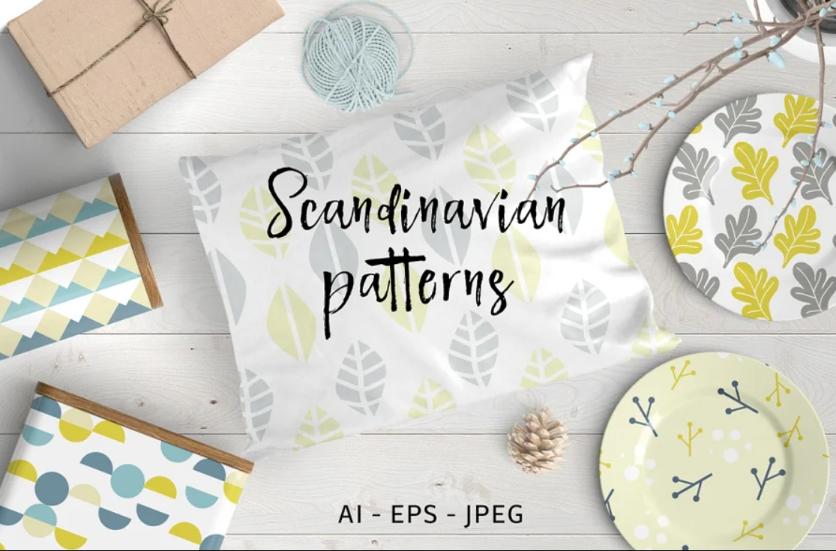
10 Seamless Scandanavian Patterns
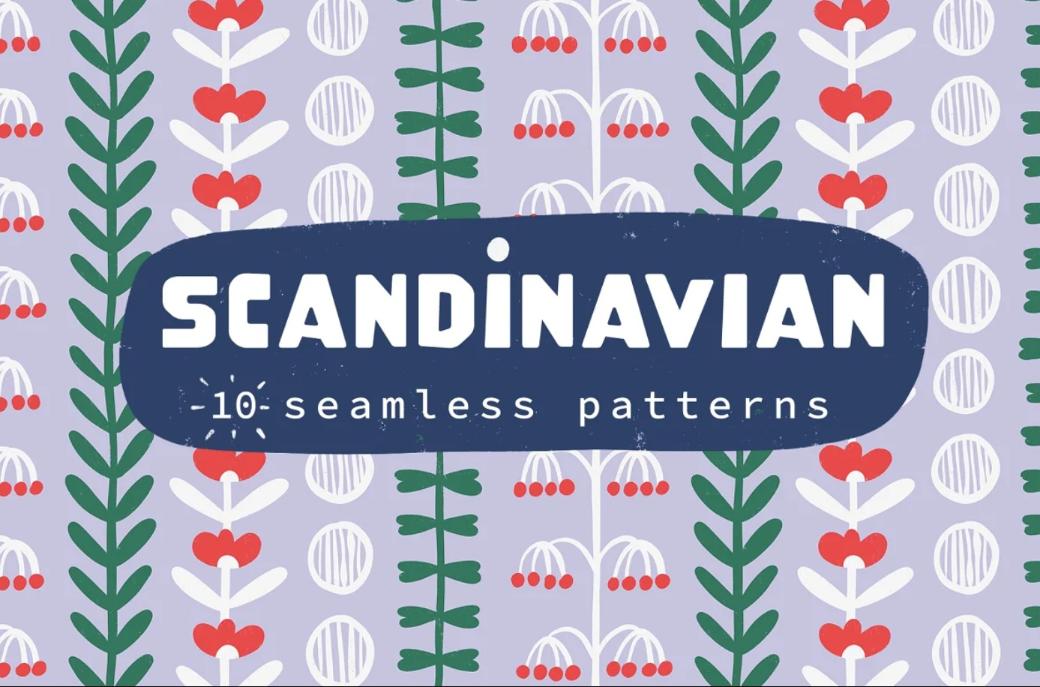
This is a floral style scandanavian patterns that can be used to design invitation cards, greeting cards, poster designs and many more. In this download you get a total of 10 different seamless patterns that are fully repeatable and tileable. All the pattern design elements that are included in the download come with 300 DPI resolution to give high quality look to the design projects. Change the background color of pattern according to your project.
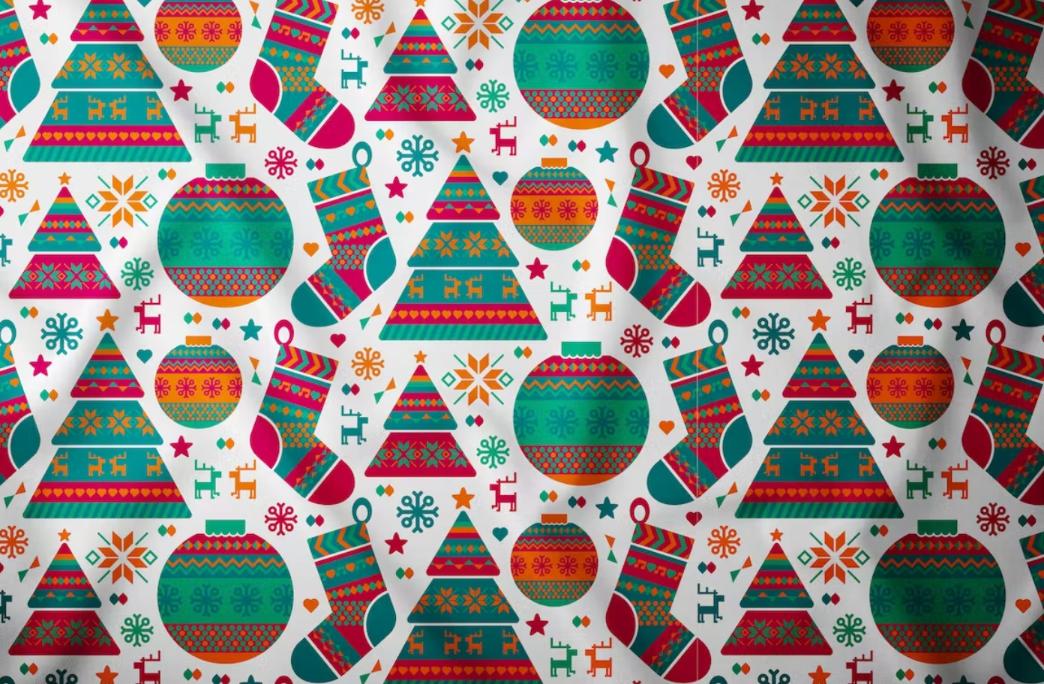
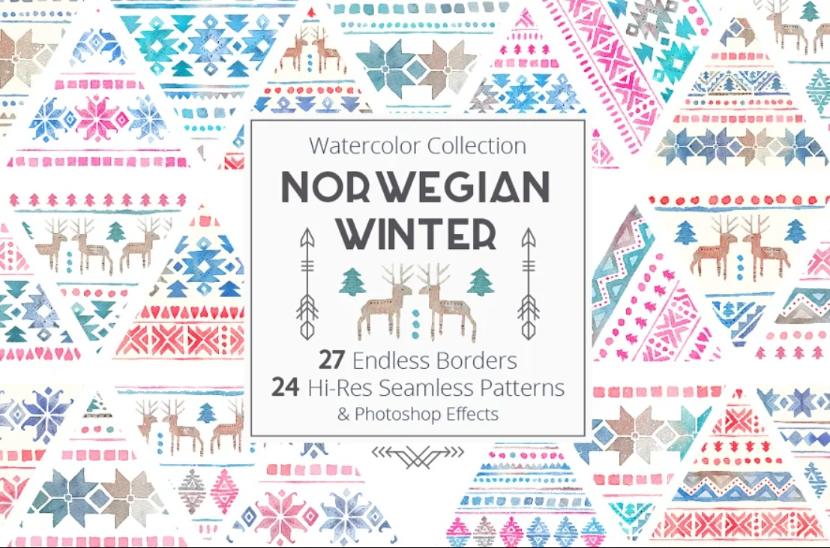
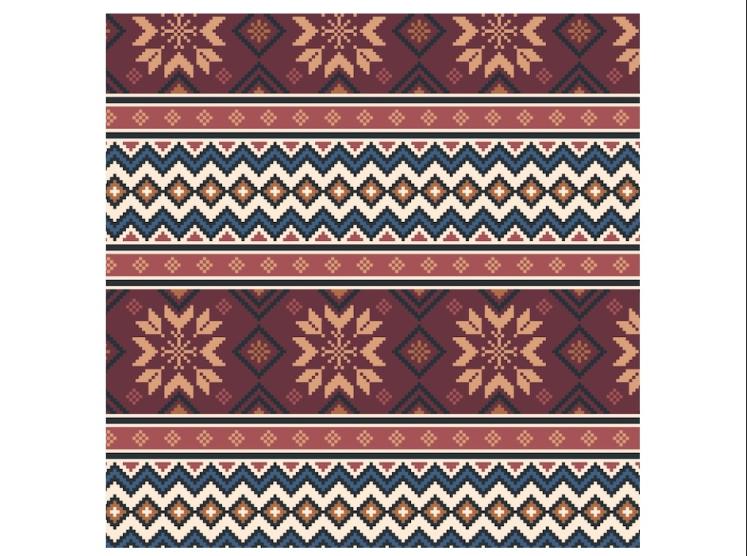
DownloadNorwegian Pattern Design for Christmas
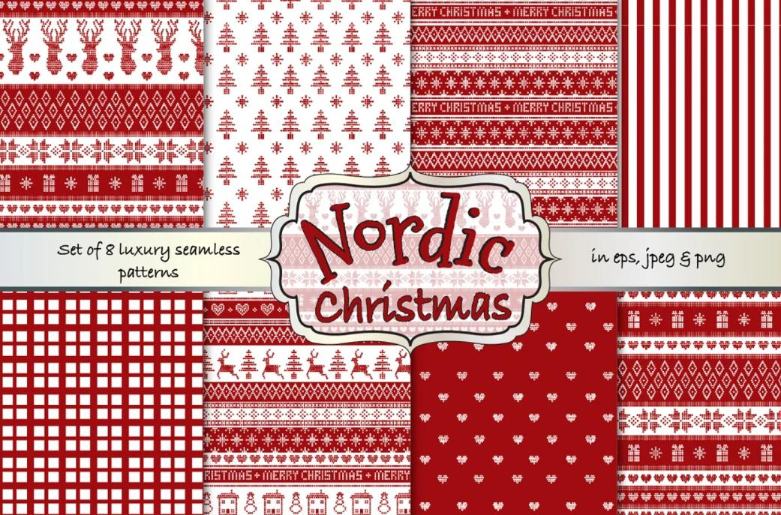
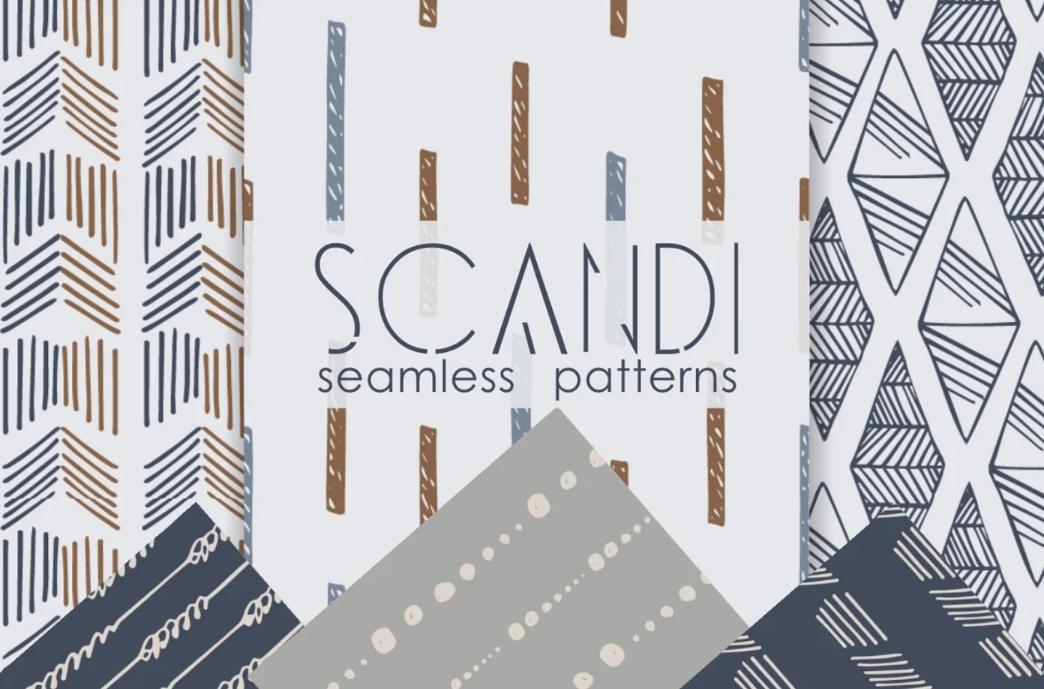
Nordic Seamless Pattern Designs
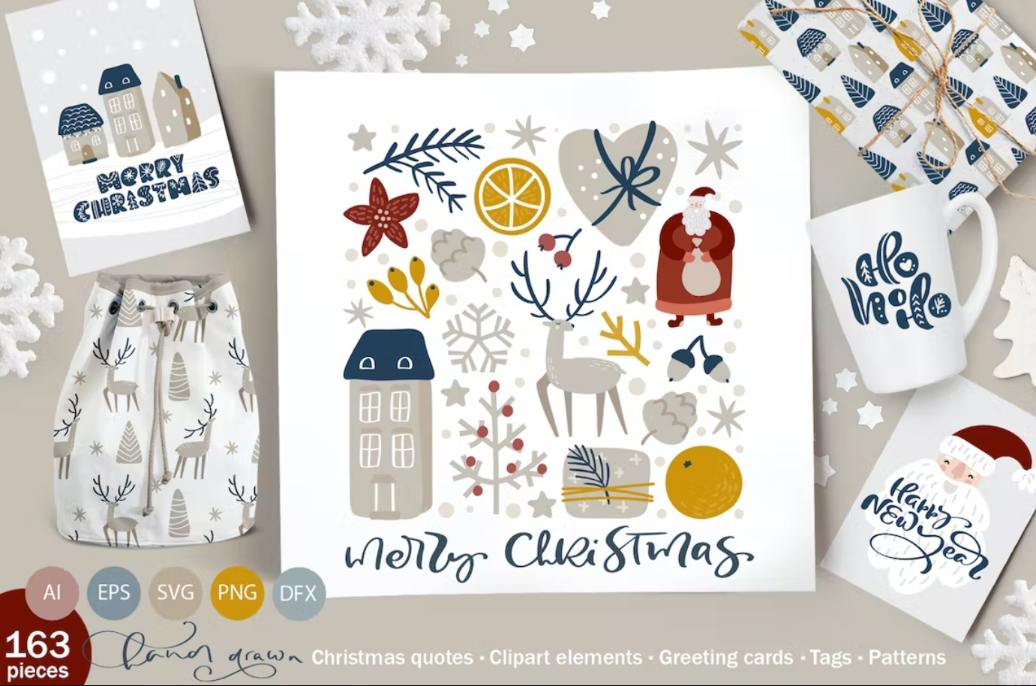
Merry Christmas Pattern Design
Watercolor Seamless Pattern Designs
Cute Baby Pattern Designs
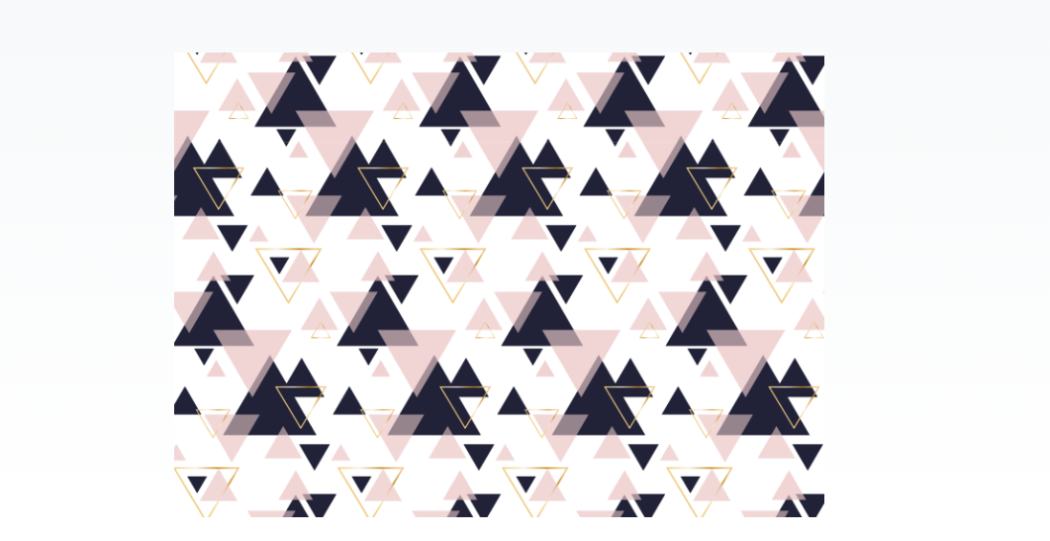
Vector Seamless Pattern Designs
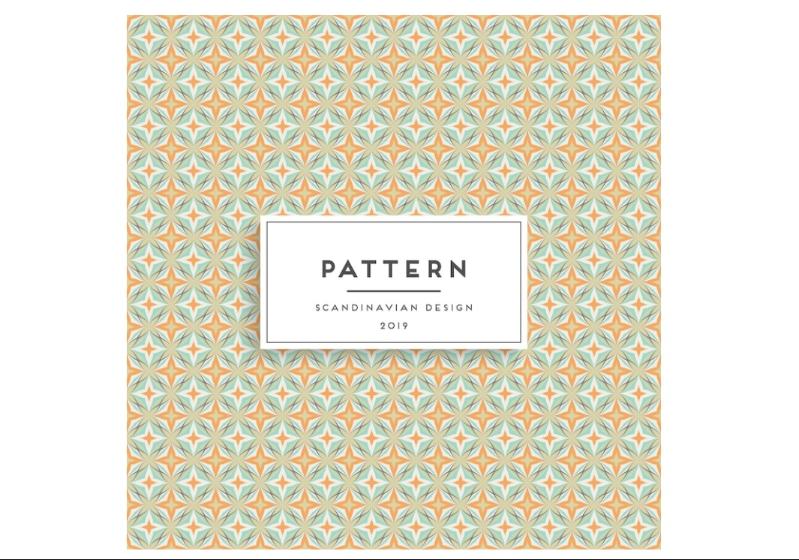
Minimalistic Pattern Designs Set
Free Scandinavian Patter Designs
Free Nordic Pattern Design
Free Scandinavian Vector Pattern
Hope you like our collection of free and premium nordic patterns for designing unique greeting cards, invitations, packaging designs, apparel designs and web pages. Repeat the designs on the project so that you can design seamless projects.


