
Looking for the best eye brushes for your digital painting projects? Using these brushes set you can add different eye style looks to your design projects and portrait projects. These brushes are designed in such a way that you can give an attractive and realistic style look to your projects. In this pack you get different types of eye brushes that are designed base upon different nationalities and different styles. Design a customized digital art portrait for your clients by using these files.
In this article we have collected some of the best free and premium eye brushes set that can used for both Photoshop and Procreate. Some of the best brushes that are included in the article are eye brow brushes, iris brushes, eye stamps and eyee makeup procreate brushes. These brush file will allow you to customuze the color and width of the eyes aaccording to your requirements. Choose the best brush that suits your design project and make the best use of it.
You may also like:
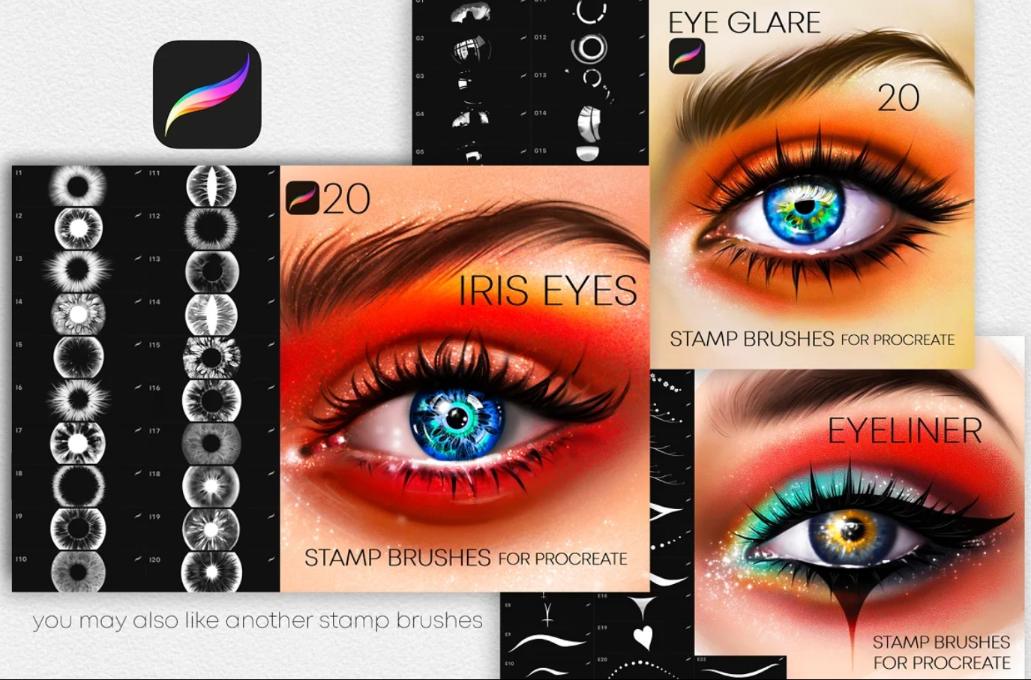
Iris Eyes Brushes for Procreate
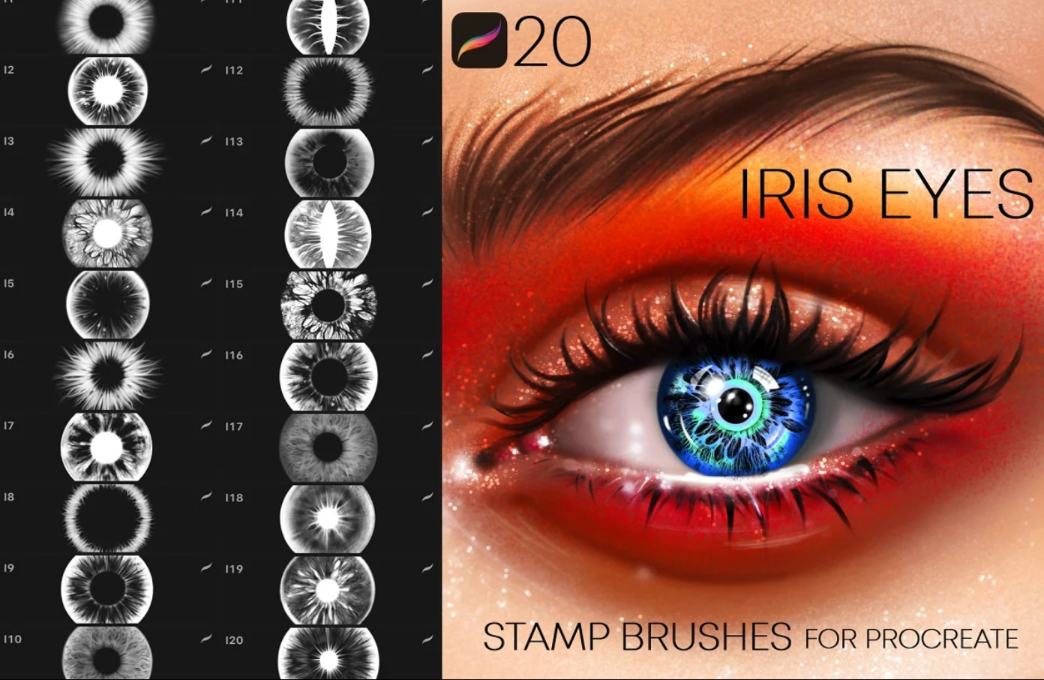
This is a collection of 20 different iris brushes that will allow you to add different iris looks to your portrait designs. You can choose the best eye look that suits according to your requirement and design unique digital project. You can use these brushes with the Procreate app and iPad device to make a unique project for your clientss. The size of the file included in the download is 21.53 MB.
DownloadEyelash Stamp Brushes for Procreate
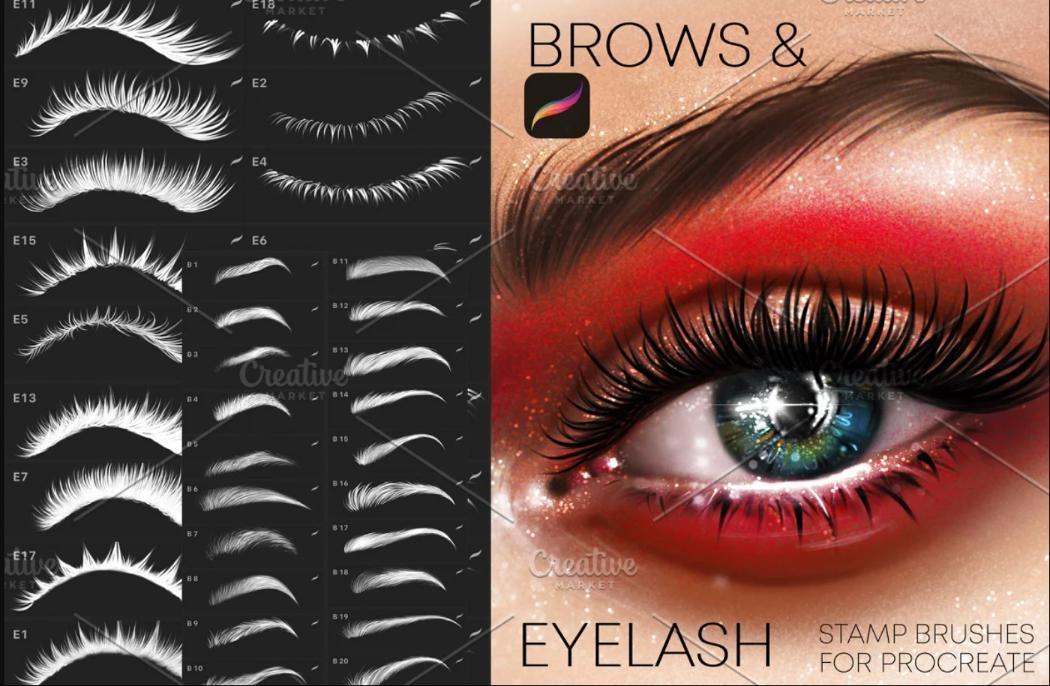
This is a creative procreate makeup brushes that will allow you to add different eyelashes to your projects. In this download you will be able to set your eyelashes and iris designs according to your project requirements. You also get upper lashes and bottom lashes brush that you can combine to get a unique look. In this download you get 9 differnt lashes and 20 different iris brushes that gives unique look to projects.
Download10 Eye Stamps for Photoshop
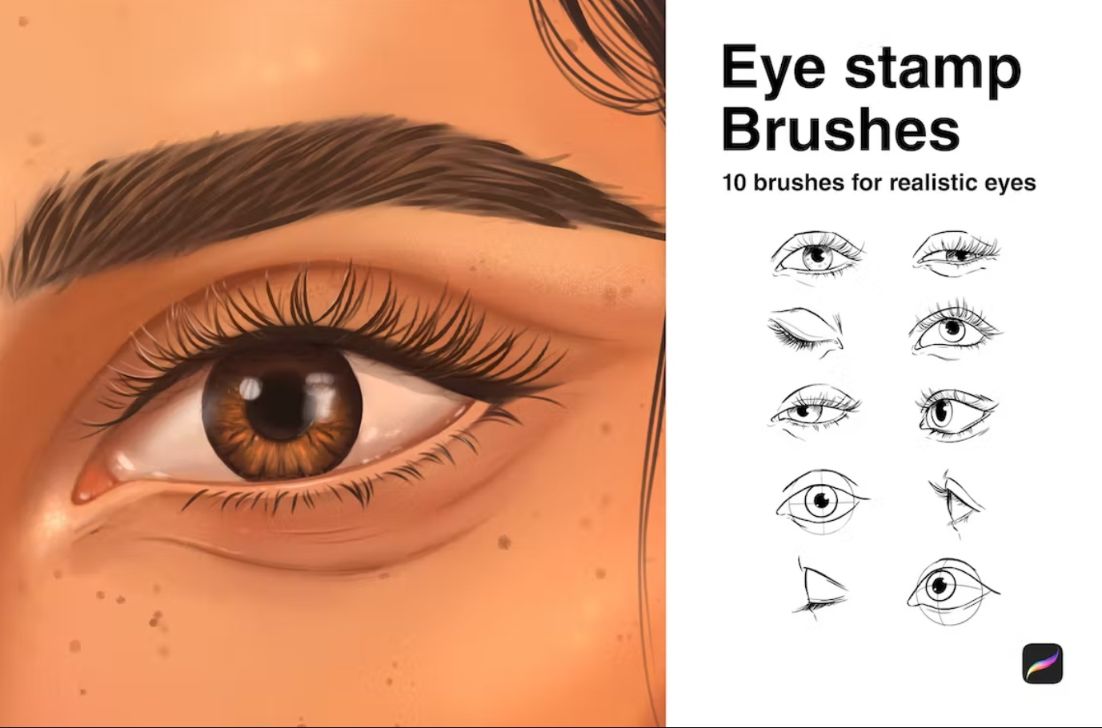
This is a collection of 16 different eye stamp brushes that will give an artistic and realistic style look to your design projects. These eye stamp brushes will give a great look to your portrait projects. You get these brush stamps in Procreate only so you can use this files only in iPad and along with Procreate app. You can easily import the brushes to your procreate app and start designing projects easily.
DownloadEyeliner Brushes for Photoshop
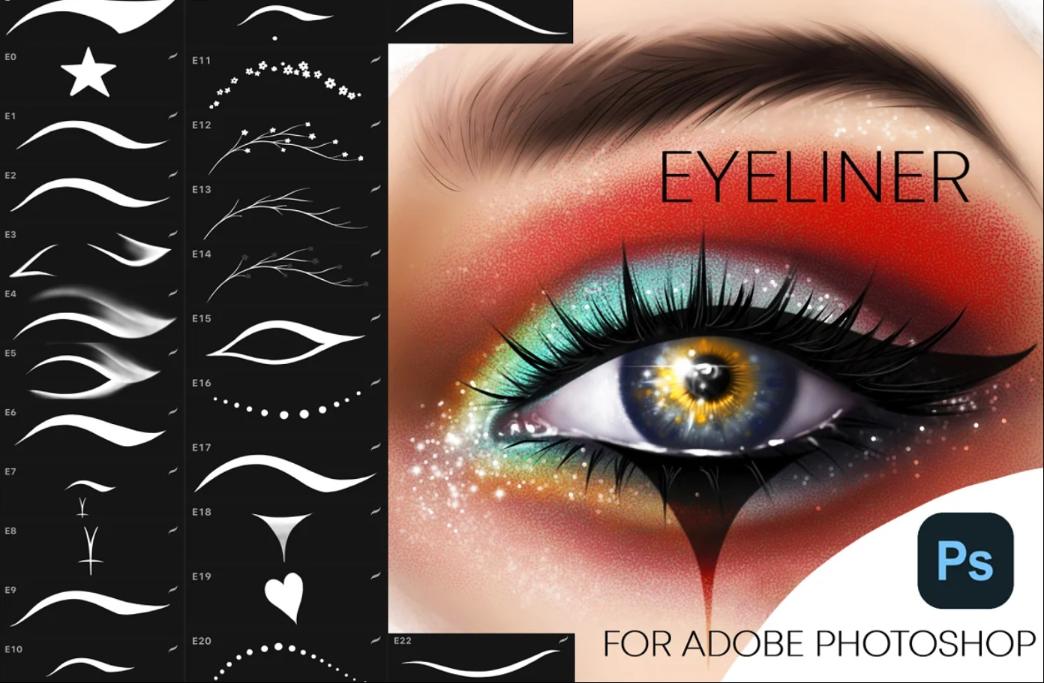
This is a unique eyeliner stamp brushes set for Adobe Photohop so that you can give a unique look to your makeup designs. In this pack you get a total of 24 different brushes that will allow you to design unique makeups. You also get an option to add dripping, shiny and dotted effects to your makeup designs.
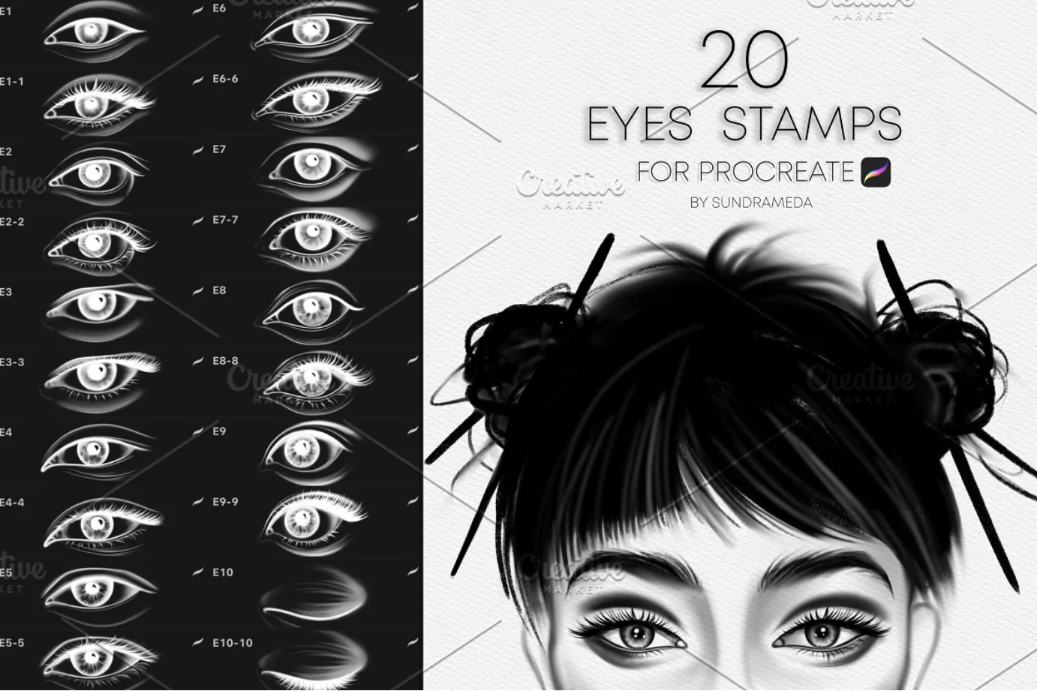
Download20 Eye Stamps for Procreate
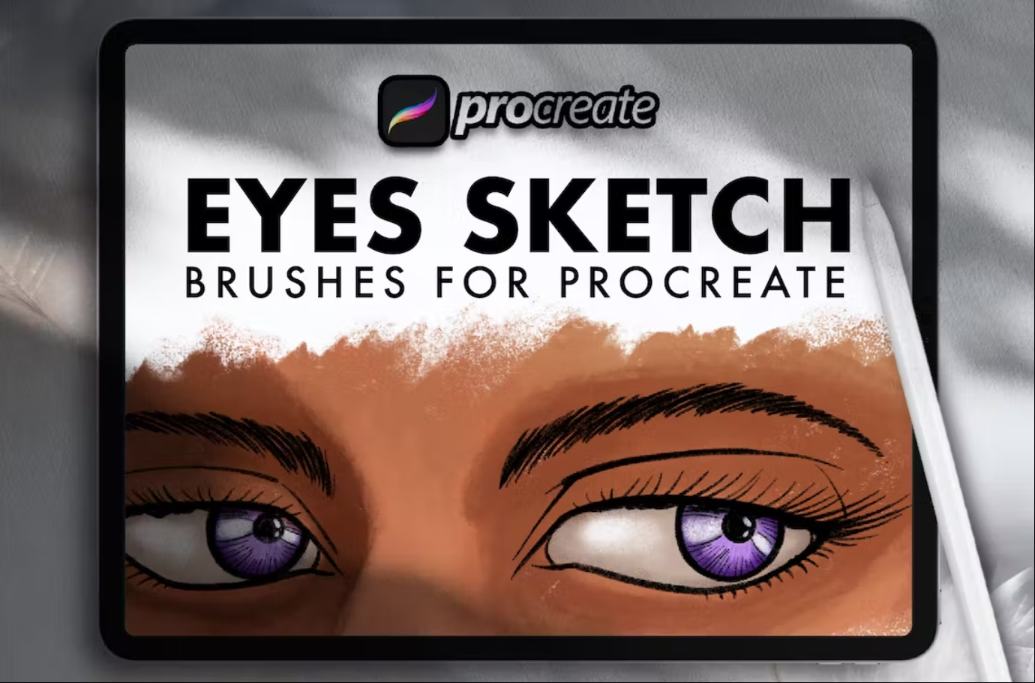
Eye Sketch Brushes for Procreate
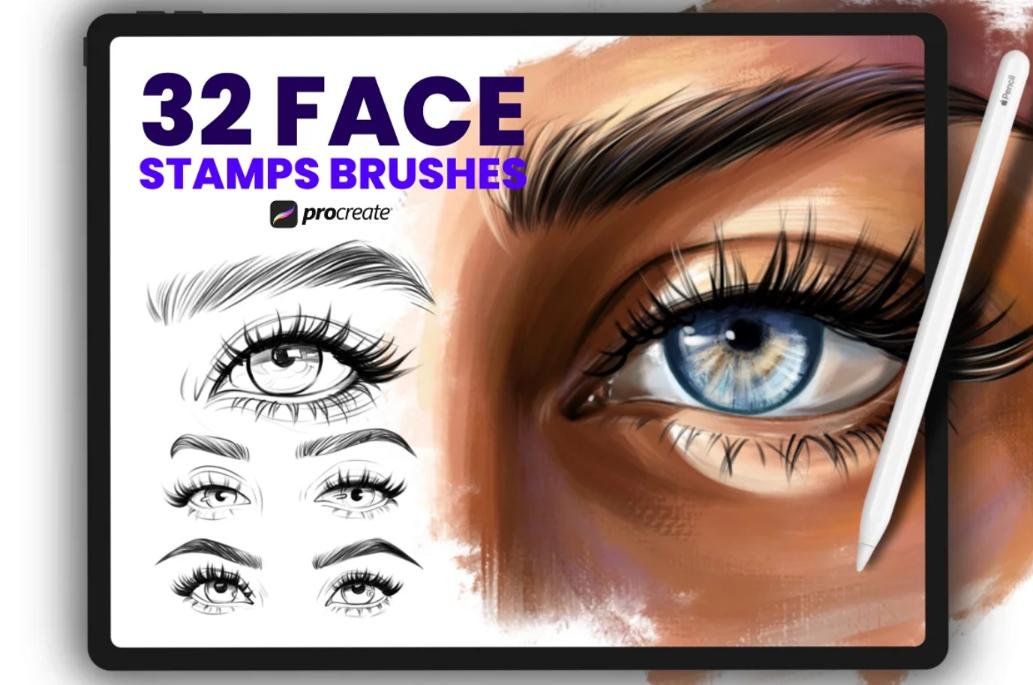
32 Eye Stamp Brushes for Procreate
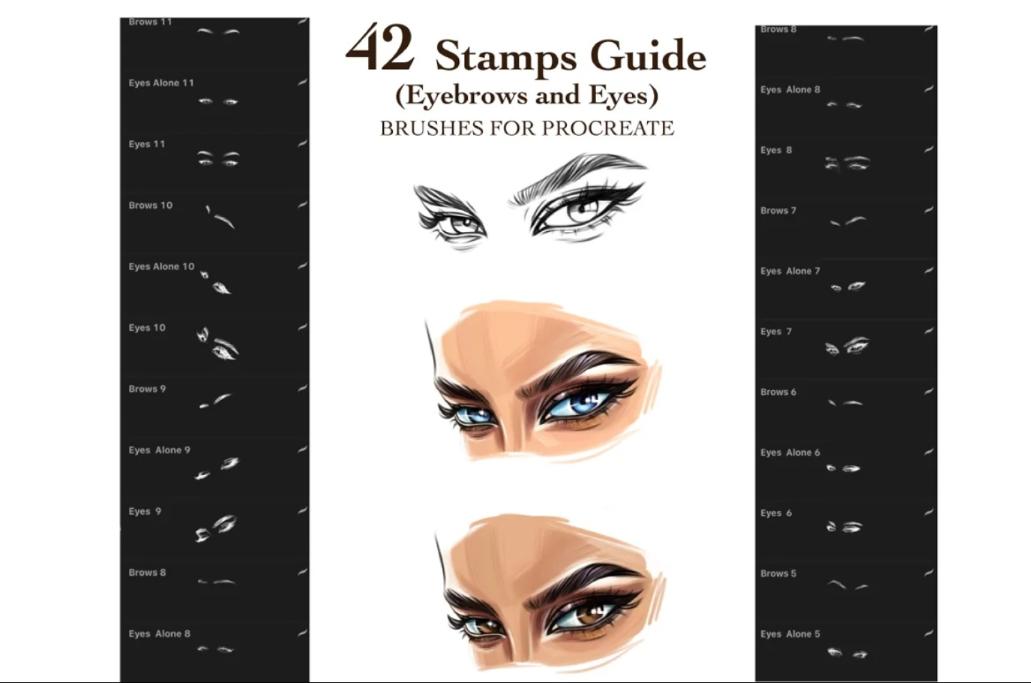
42 Eyebrows and Eye Stamps
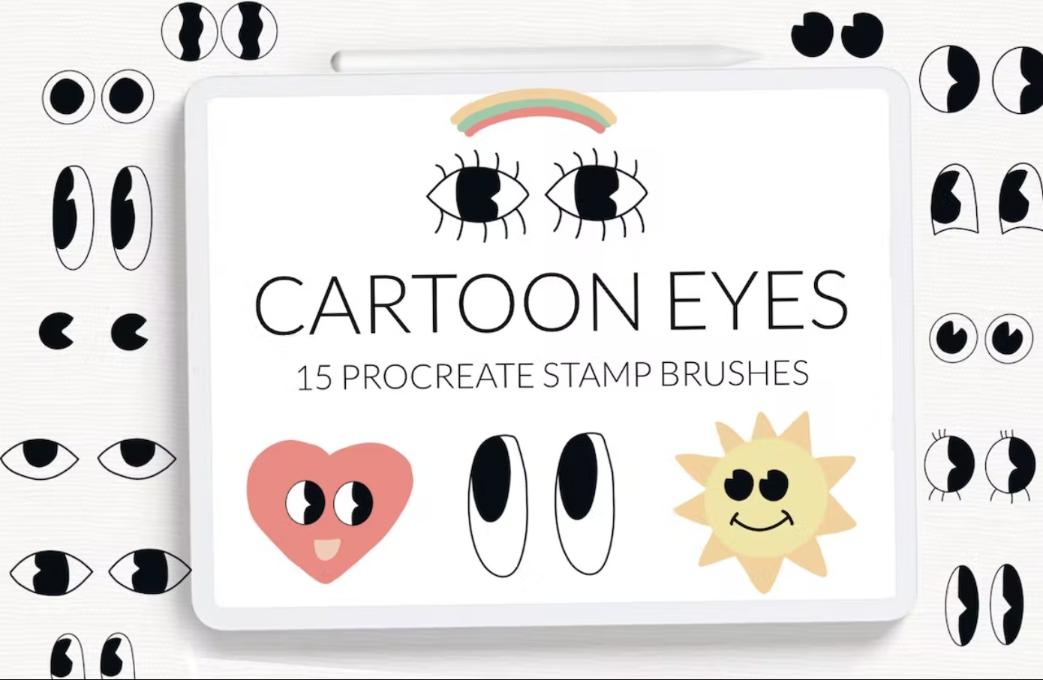
Cartoon Eyes Stamp Brushes
Professional Makeup Brushes Set
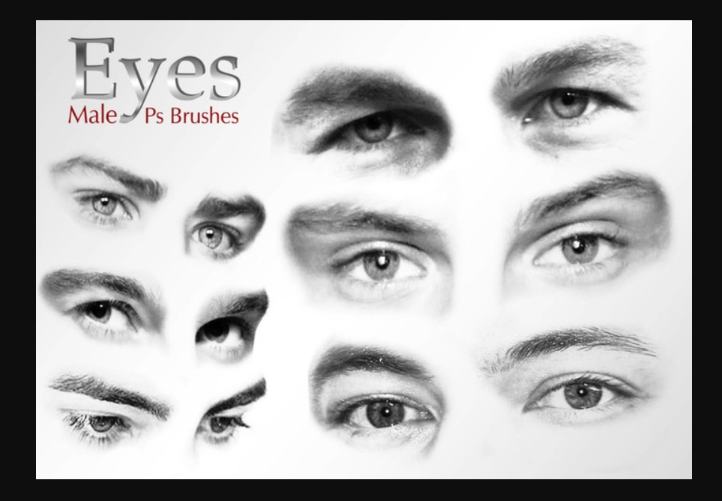
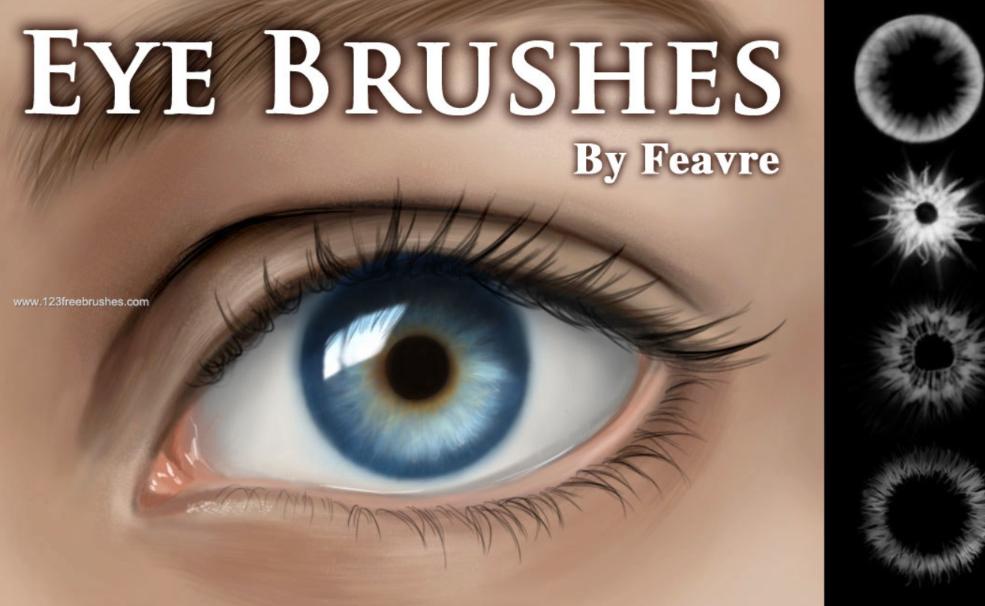
Free Male Eyes Brushes
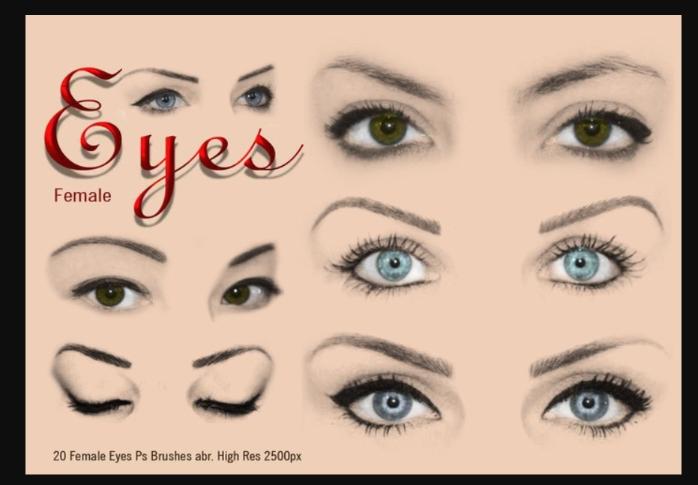
20 Female Eyes PS Brushes
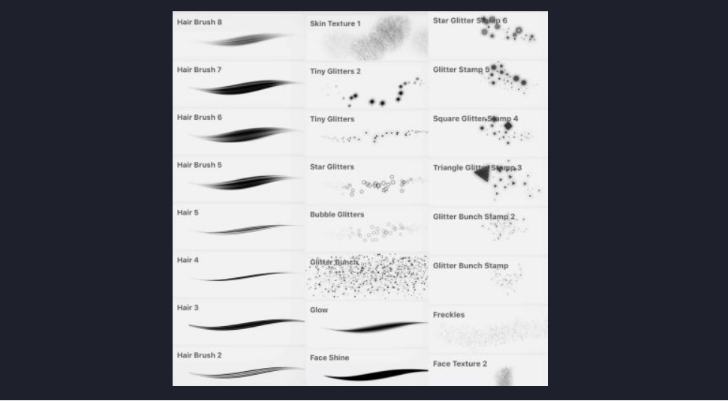
Free Eyes and Hair Brushes Set
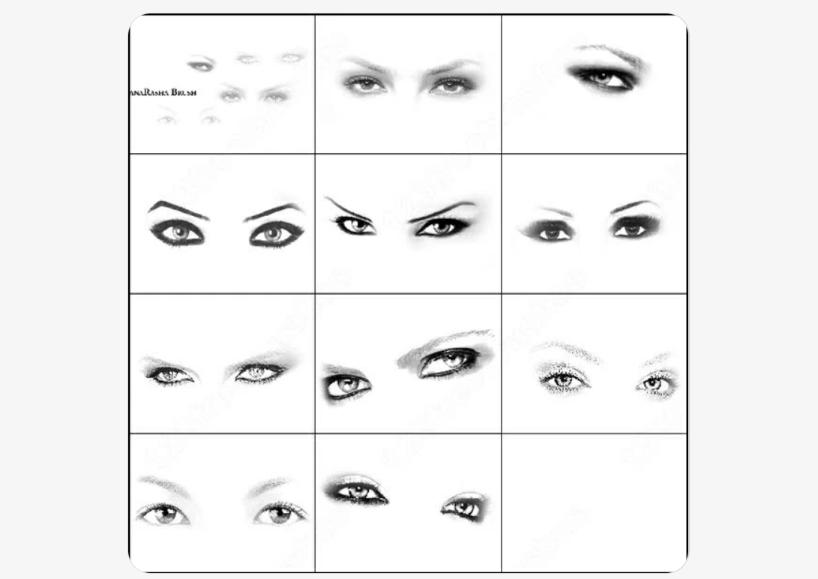
Free ABR Eyes Brushes
Free Iris Brushes Procreate
Hope you like our collection of free and premium eye brushes to design unique eye makeup and face makeup projects. Design a fully customized project for your clients by using these brushes.